Getting started — Goeboek Figma
Open the file
Section titled “Open the file”Your purchase gives you the Goeboek Figma file in one of two forms:
- A duplicate link. Open it while signed in to Figma and choose Duplicate (or Open in Figma). A copy lands in your Drafts; move it to a team or project from the file menu.
- A
.figfile. In Figma, go to your Drafts or a project, then Import (or drag the file onto the Figma window).
Either way the copy is yours: edit it freely and invite your team. A free Figma plan is enough to open and edit it.
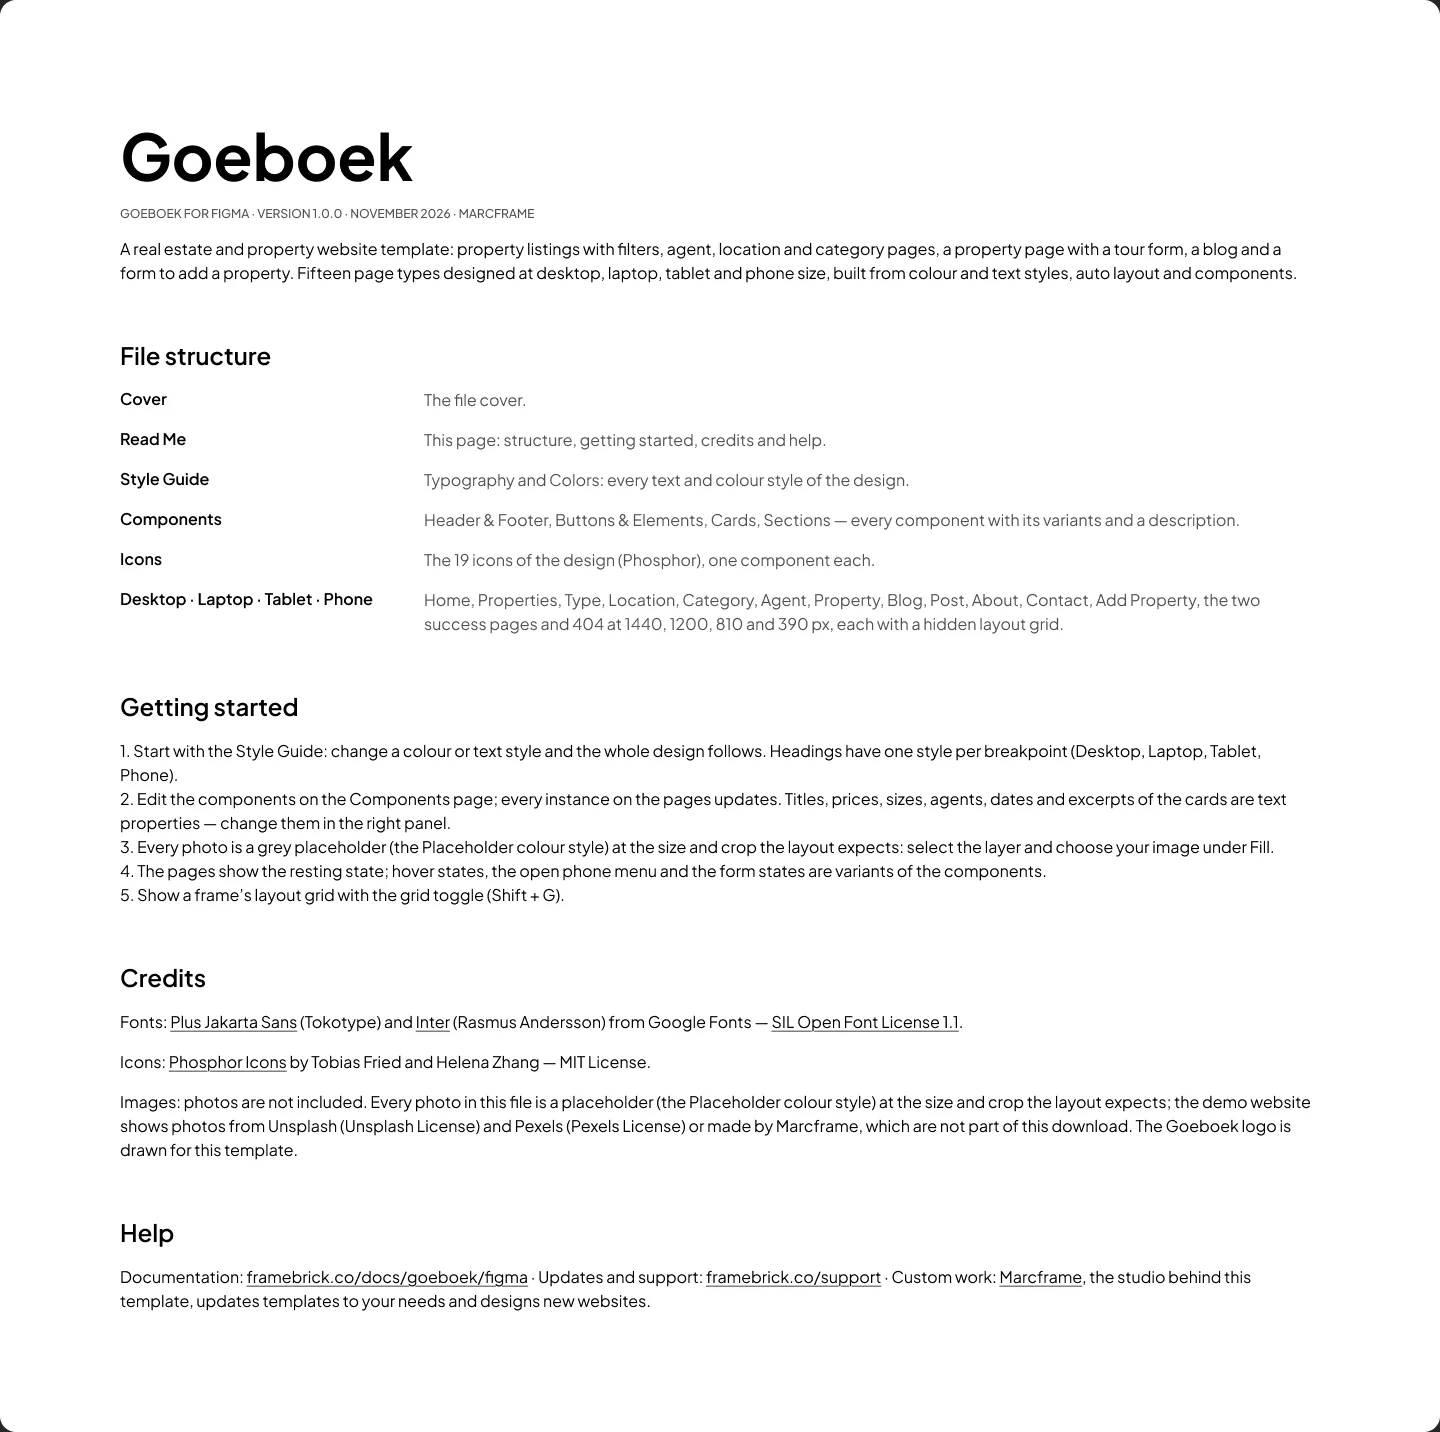
Start with the Read Me page inside the file — it summarises this guide.
The file uses two typefaces from Google Fonts:
- Plus Jakarta Sans — Regular, Medium, SemiBold and Bold — for every heading, paragraph, the menu and the form fields.
- Inter — Regular — for the button and label styles (upper case): the pill and flip buttons, the label chips, the type tags on the photos, the ratings and the submit buttons.
Figma’s browser and desktop apps include both through Google Fonts, so they usually work straight away. If Figma shows a Missing fonts warning, install them on your computer from Google Fonts and reopen the file.
The pages
Section titled “The pages”| Page | What is on it |
|---|---|
| Cover | The file cover |
| Read Me | File structure, getting started, credits and help |
| Style Guide | The colour and text styles, shown as swatches and samples (Colours and text styles) |
| Components | Every reusable component with its variants, on four boards: Header & Footer, Buttons & Elements, Cards, Sections (Components) |
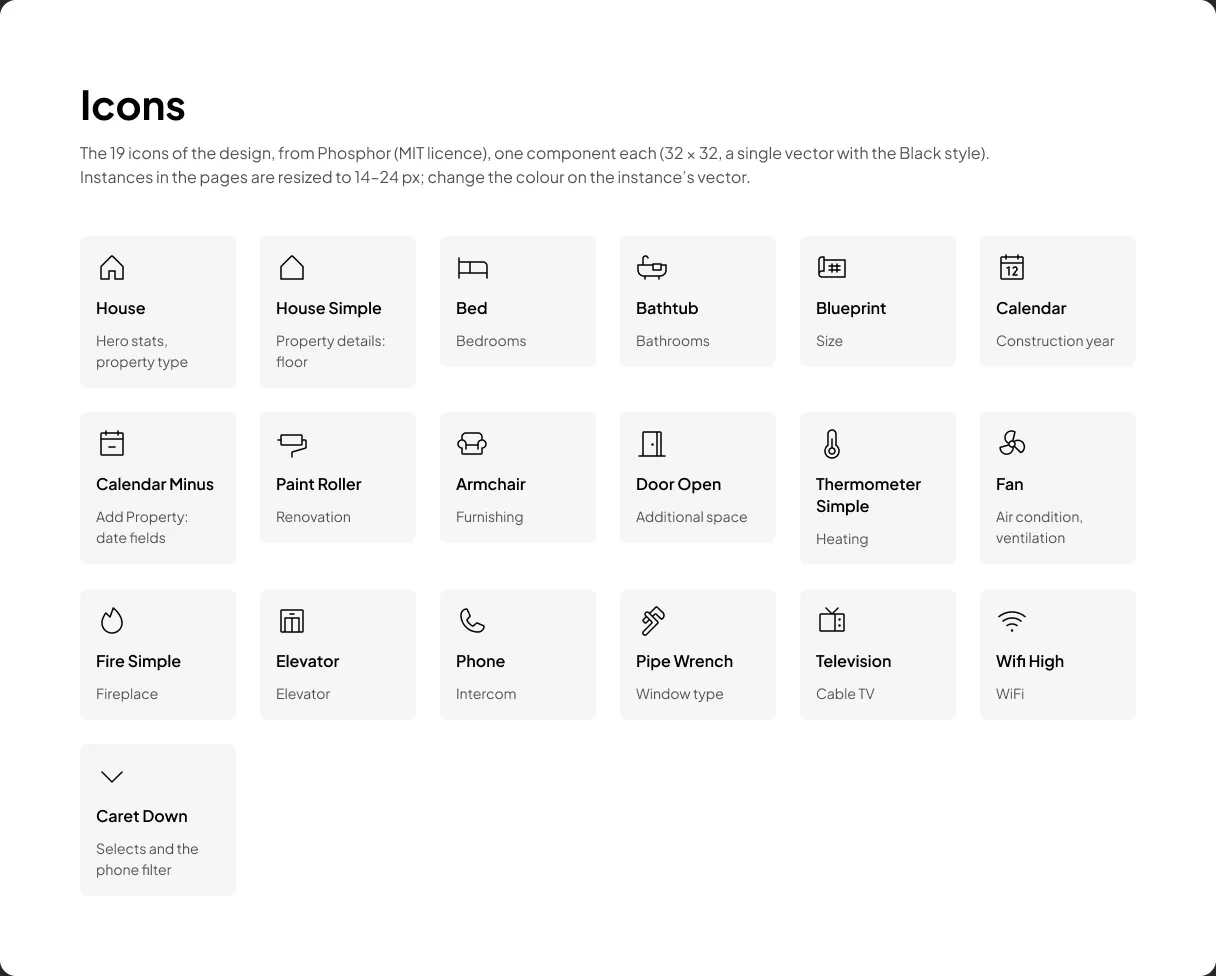
| Icons | The 19 icons used in the design, one component each, from Phosphor Icons (MIT licence) |
| Desktop | The 15 page frames at 1440 px |
| Laptop | The same 15 frames at 1200 px |
| Tablet | The same 15 frames at 810 px |
| Phone | The same 15 frames at 390 px |
The Icons page holds the 19 icons, one component each:
Page frames
Section titled “Page frames”Each breakpoint page holds the frames in site order, named <Page> - <Breakpoint>:
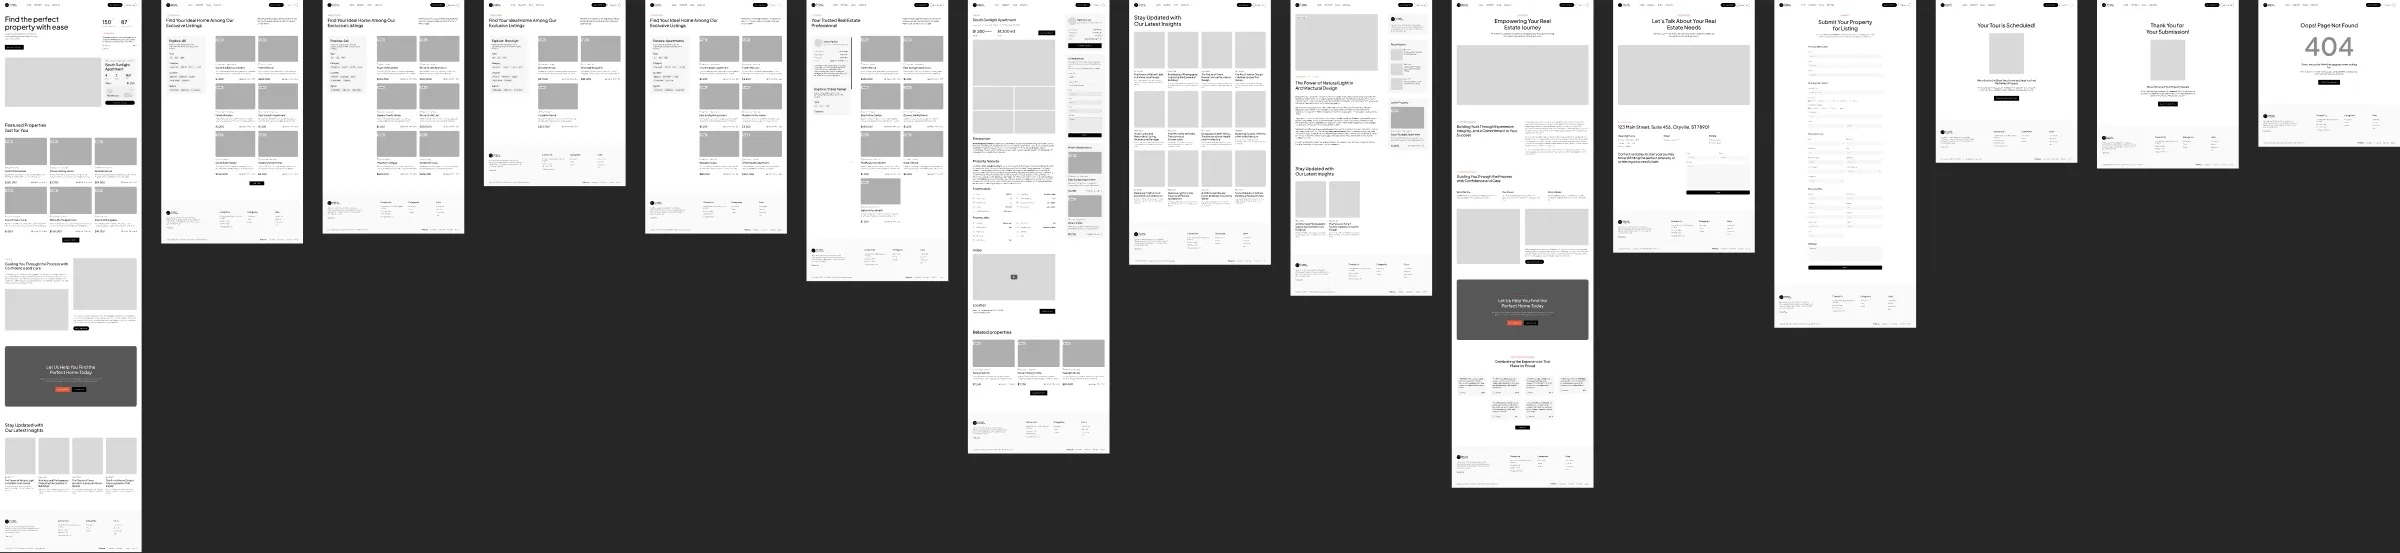
| Frame | Page of the site |
|---|---|
| Home | The hero with the stats, a client quote and a featured property, Featured Properties, About Us, the call to action and the latest posts |
| Properties | Every listing: the filter beside the property cards, six at a time with Load More |
| Type | The listings for sale (the same layout for rent) |
| Location | The listings of one location (Brooklyn) |
| Category | The listings of one category (Apartments) |
| Agent | One agent: photo, address, phones, e-mail and bio, then the agent’s listings with the filter |
| Property | One property: photos, price, size and the agent’s card, the description, features, details and utilities, the video and the map, the tour form, then more properties nearby and related ones |
| Blog | Every post as a card grid, newest first |
| Post | One article: date, category, author, title, cover photo and text, beside the recent posts and the latest property, then related posts |
| About | The page title and photo, the story, the values, the call to action and the client testimonials |
| Contact | The address, opening hours, e-mail and phones, the map and the contact form |
| Add Property | The form to submit a property: personal information, description, details, utilities and a message |
| Success Scheduled | The confirmation after the tour form |
| Success Add Property | The confirmation after the Add Property form |
| 404 | Page not found |
Every frame starts with the header and ends with the footer (about the agency, contact details, categories and links). Frame widths are the breakpoints the design is built for — Desktop 1440 px, Laptop 1200 px, Tablet 810 px, Phone 390 px — and each frame has a matching layout grid (hidden by default; see Colours and text styles).
Finding things
Section titled “Finding things”- Pages list (top of the left sidebar): jump between the pages above.
- Layers panel (
Alt/Option + 1): frames and layers are named after what they are — “Header”, “Footer”, “Hero”, “Property Card”. - Assets panel (
Alt/Option + I): every component with a short description, ready to drag onto a frame. - Right-click a component → Go to main component to jump from a page to where the component is defined.
Before you change anything
Section titled “Before you change anything”Duplicate the frames you are about to rework (Ctrl/Cmd + D) or save a named version (File → Save to version
history), so you can always compare with the original design.