Getting started — Denzel Figma
Open the file
Section titled “Open the file”Your purchase gives you the Denzel Figma file in one of two forms:
- A duplicate link. Open it while signed in to Figma and choose Duplicate (or Open in Figma). A copy lands in your Drafts; move it to a team or project from the file menu.
- A
.figfile. In Figma, go to your Drafts or a project, then Import (or drag the file onto the Figma window).
Either way the copy is yours: edit it freely and invite your team. A free Figma plan is enough to open and edit it.
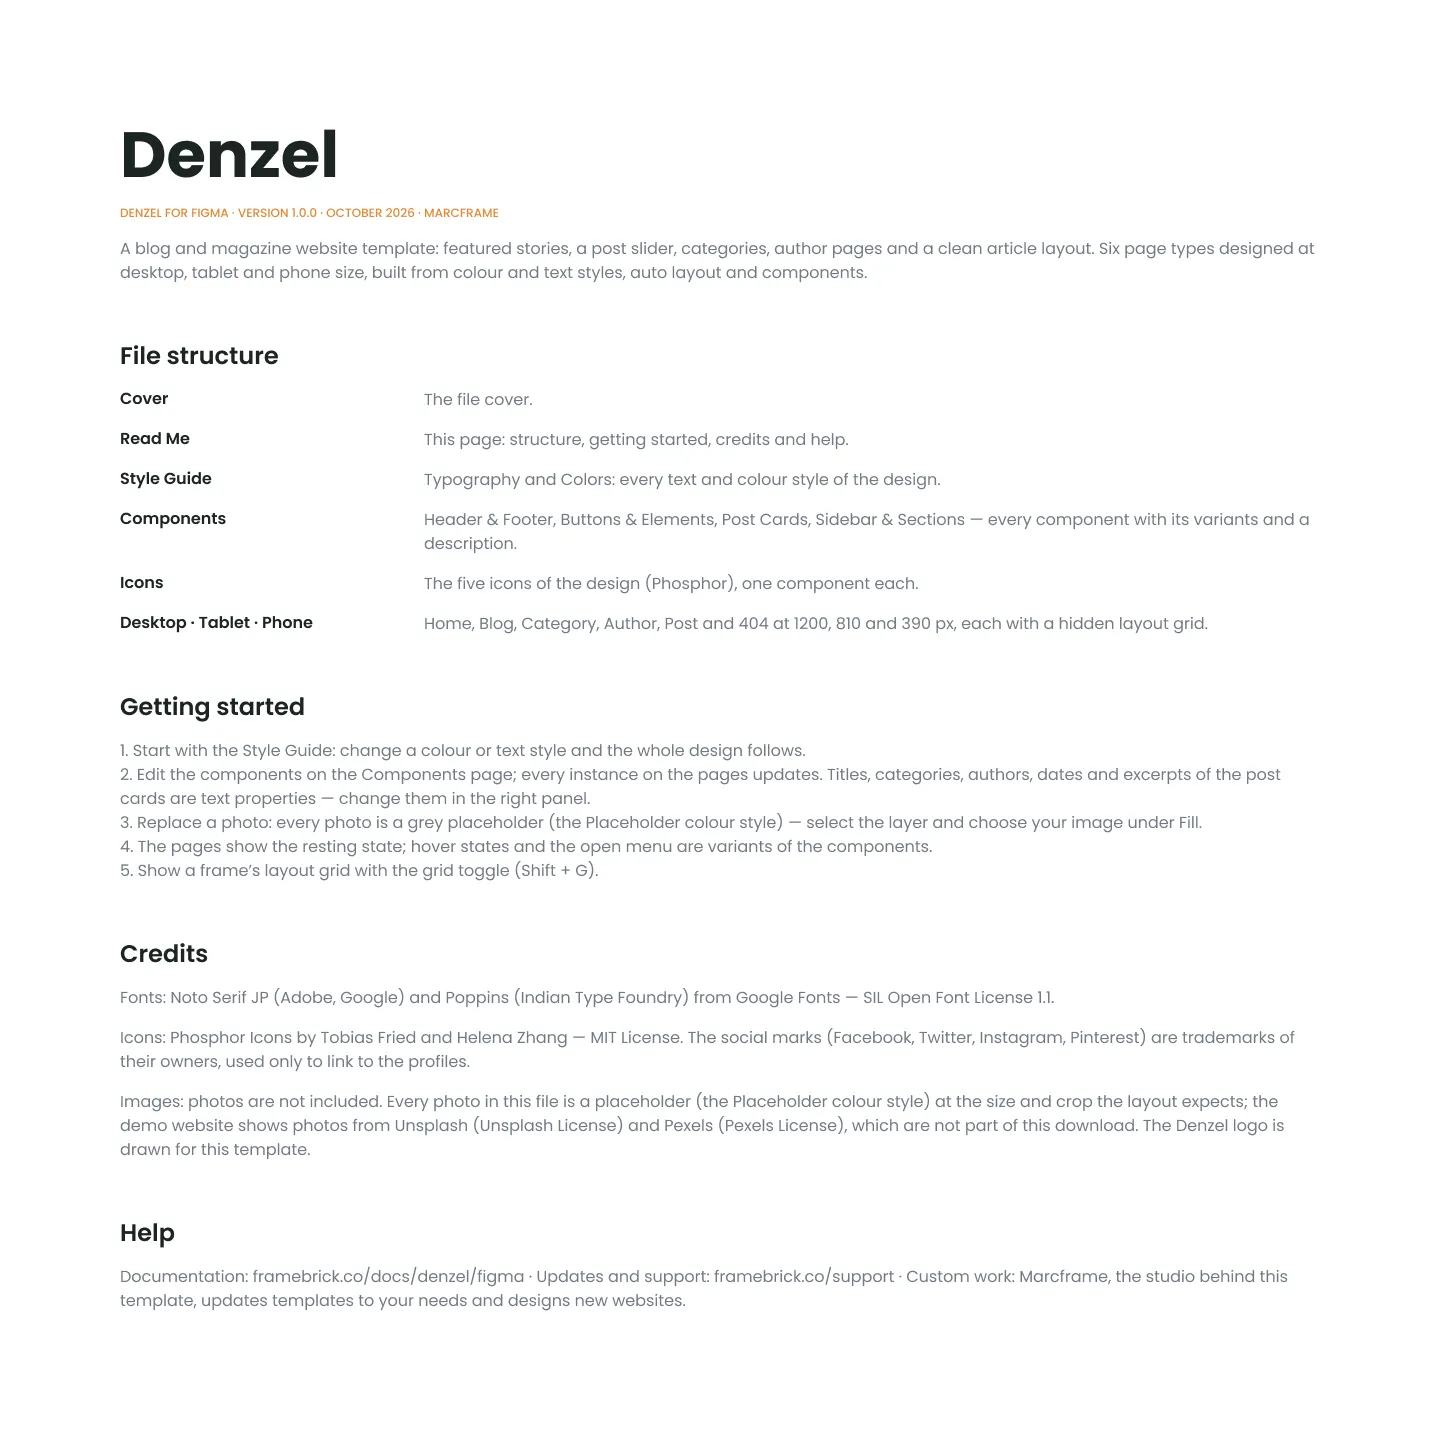
Start with the Read Me page inside the file — it summarises this guide.
The file uses two typefaces from Google Fonts:
- Noto Serif JP — Medium, SemiBold and Bold — for the page titles, the card titles, the headings inside a post and the menu.
- Poppins — Regular, Medium, SemiBold and Bold — for everything else: section titles, paragraphs, the meta line, labels and the socials.
Figma’s browser and desktop apps include both through Google Fonts, so they usually work straight away. If Figma shows a Missing fonts warning, install them on your computer from Google Fonts and reopen the file.
The pages
Section titled “The pages”| Page | What is on it |
|---|---|
| Cover | The file cover |
| Read Me | File structure, getting started, credits and help |
| Style Guide | The colour and text styles, shown as swatches and samples (Colours and text styles) |
| Components | Every reusable component with its variants, on four boards: Header & Footer, Buttons & Elements, Post Cards, Sidebar & Sections (Components) |
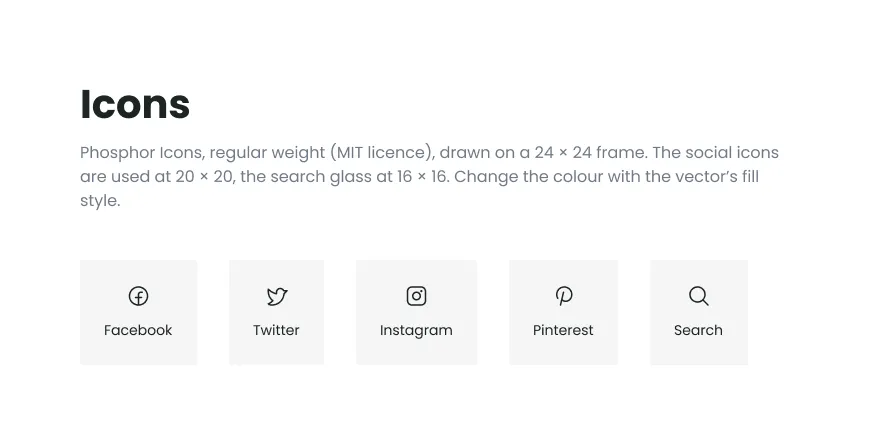
| Icons | The five icons used in the design, one component each: the search icon from Phosphor Icons (MIT licence) and the Facebook, Twitter, Instagram and Pinterest marks |
| Desktop | The 6 page frames at 1200 px |
| Tablet | The same 6 frames at 810 px |
| Phone | The same 6 frames at 390 px |
The Icons page holds the five icons, one component each:
Page frames
Section titled “Page frames”Each breakpoint page holds the frames in site order, named <Page> - <Breakpoint>:
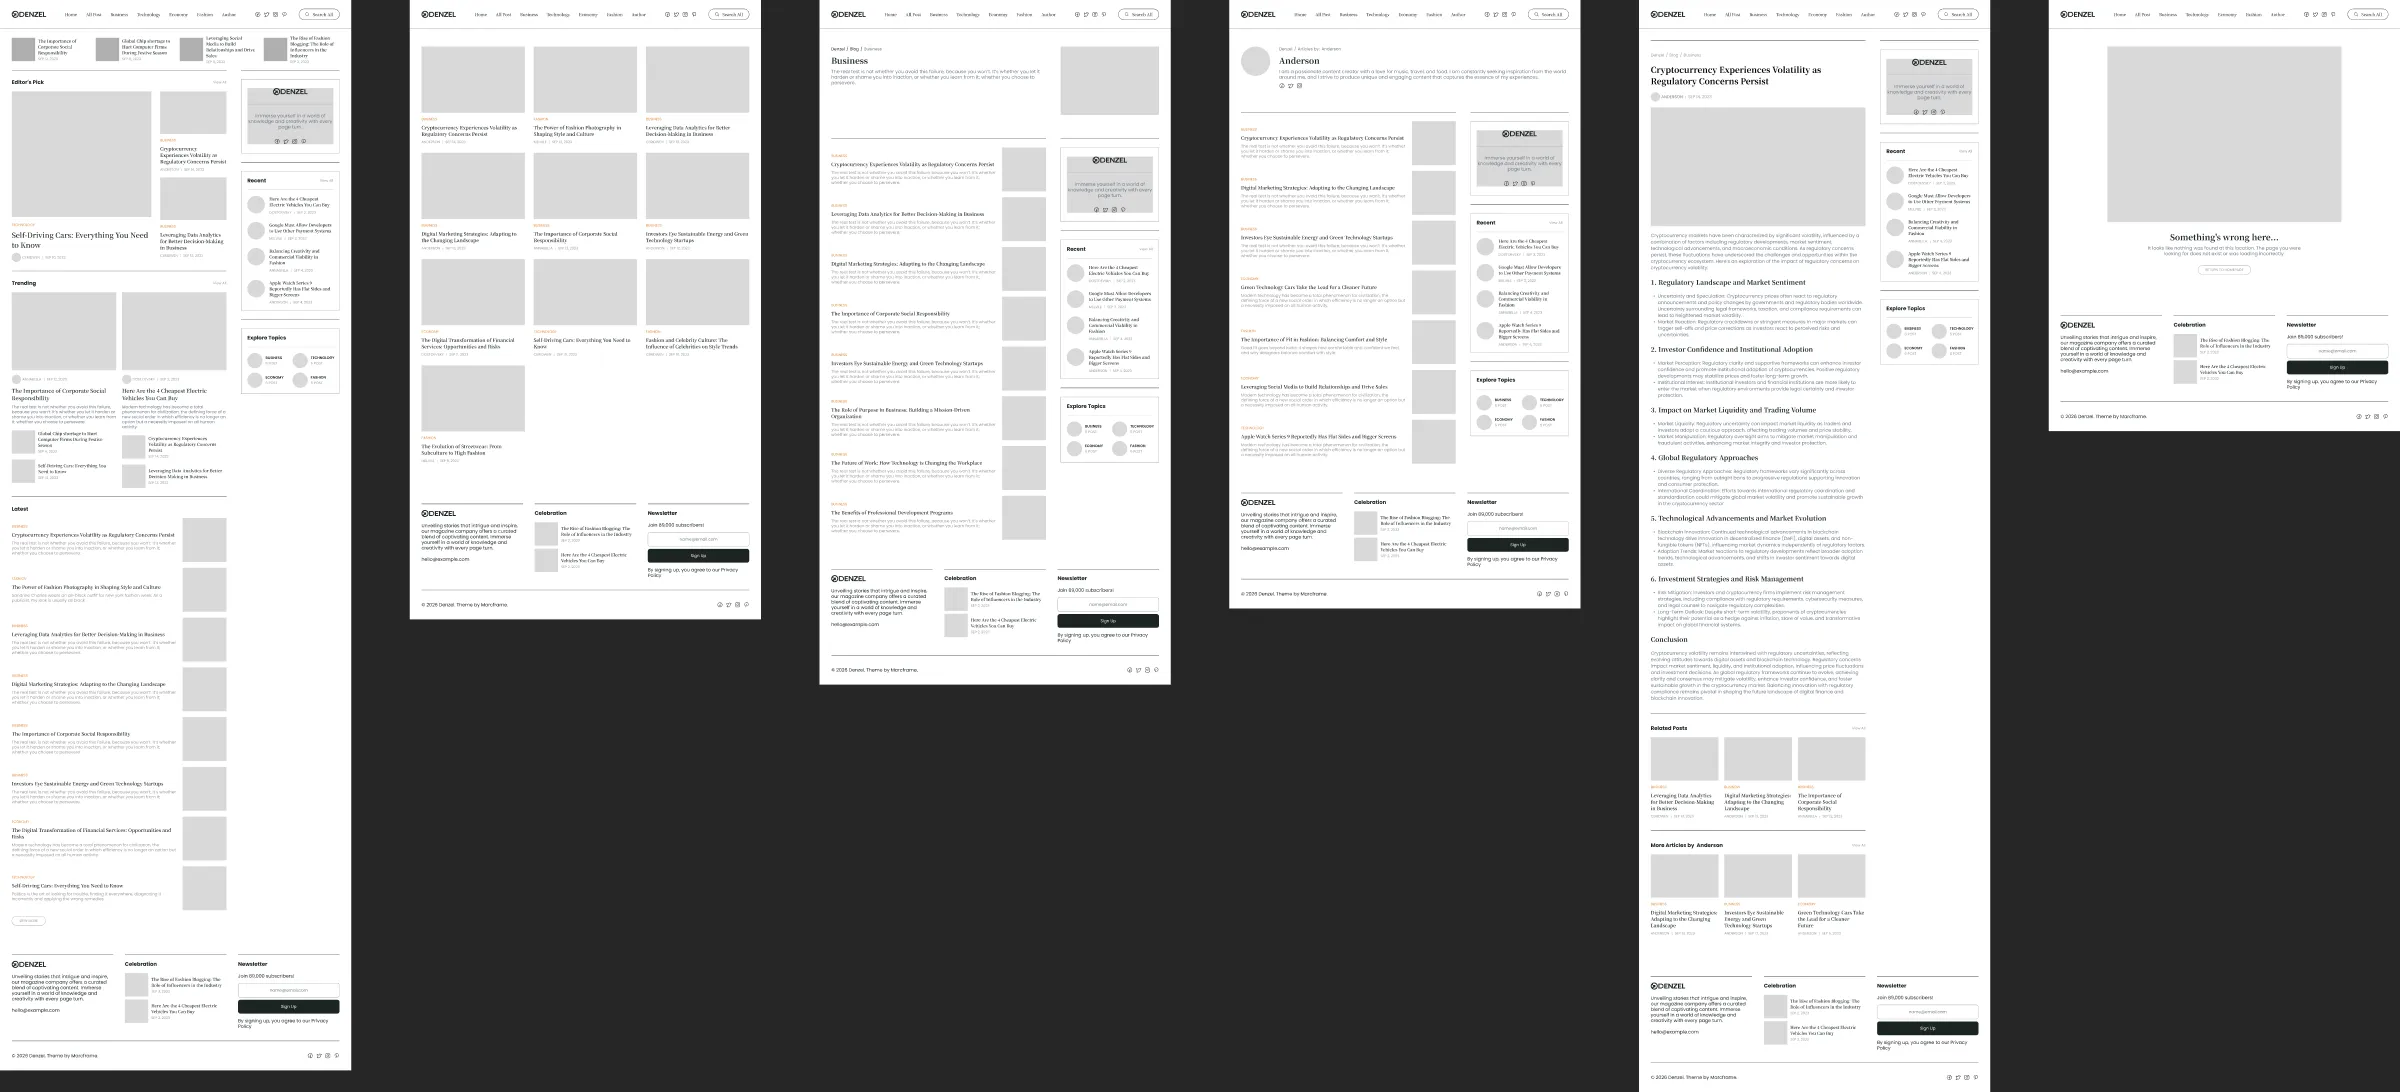
| Frame | Page of the site |
|---|---|
| Home | The post slider under the header, then Editor’s Pick, Trending and Latest beside the sidebar (about, recent posts and topics) |
| Blog | Every post as a card grid, newest first |
| Category | One category: its title, description and photo, then its posts beside the sidebar |
| Author | One author: photo, name, bio and social links, then the author’s posts beside the sidebar |
| Post | One article: breadcrumb, title, author and date, cover photo and text, then related posts and more posts by the author, beside the sidebar |
| 404 | Page not found |
Every frame starts with the header and ends with the footer (about the magazine, two picked posts and the newsletter). Frame widths are the breakpoints the design is built for — Desktop 1200 px, Tablet 810 px, Phone 390 px — and each frame has a matching layout grid (hidden by default; see Colours and text styles).
Finding things
Section titled “Finding things”- Pages list (top of the left sidebar): jump between the pages above.
- Layers panel (
Alt/Option + 1): frames and layers are named after what they are — “Header”, “Footer”, “Sidebar”, “Post Card”. - Assets panel (
Alt/Option + I): every component with a short description, ready to drag onto a frame. - Right-click a component → Go to main component to jump from a page to where the component is defined.
Before you change anything
Section titled “Before you change anything”Duplicate the frames you are about to rework (Ctrl/Cmd + D) or save a named version (File → Save to version
history), so you can always compare with the original design.