Components — Compose Digi Figma
The pages are built from components, so a change to a component reaches every page that uses it. The main components live on the Components page, on three boards; every page frame holds instances of them. Each component has a short description, shown when you hover it in the Assets panel and repeated on its board.
Using components
Section titled “Using components”- Add one: drag it from the Assets panel (
Alt/Option + I) onto a frame. - Change a variant: select an instance and pick the variant in the right sidebar (for example Header → Breakpoint: Phone, Menu: Open).
- Override content: double-click into an instance and change its text or image. Overrides stay when the main component changes. Many components also have text properties (Label, Title, Date, Excerpt, Summary, Name, Role…) you can edit straight from the right sidebar.
- Edit for everyone: right-click an instance → Go to main component, and edit it there.
- Break the link: Detach instance (
Ctrl/Cmd + Alt/Option + B) when one place needs something the component can’t do. The copy stops following the main component.
The hover, open, loading, success and error variants document how the interface reacts. Use them to show states in a presentation, or connect them with Prototype → While hovering / On click to click through the design. The pages show every component at rest.
Header & Footer
Section titled “Header & Footer”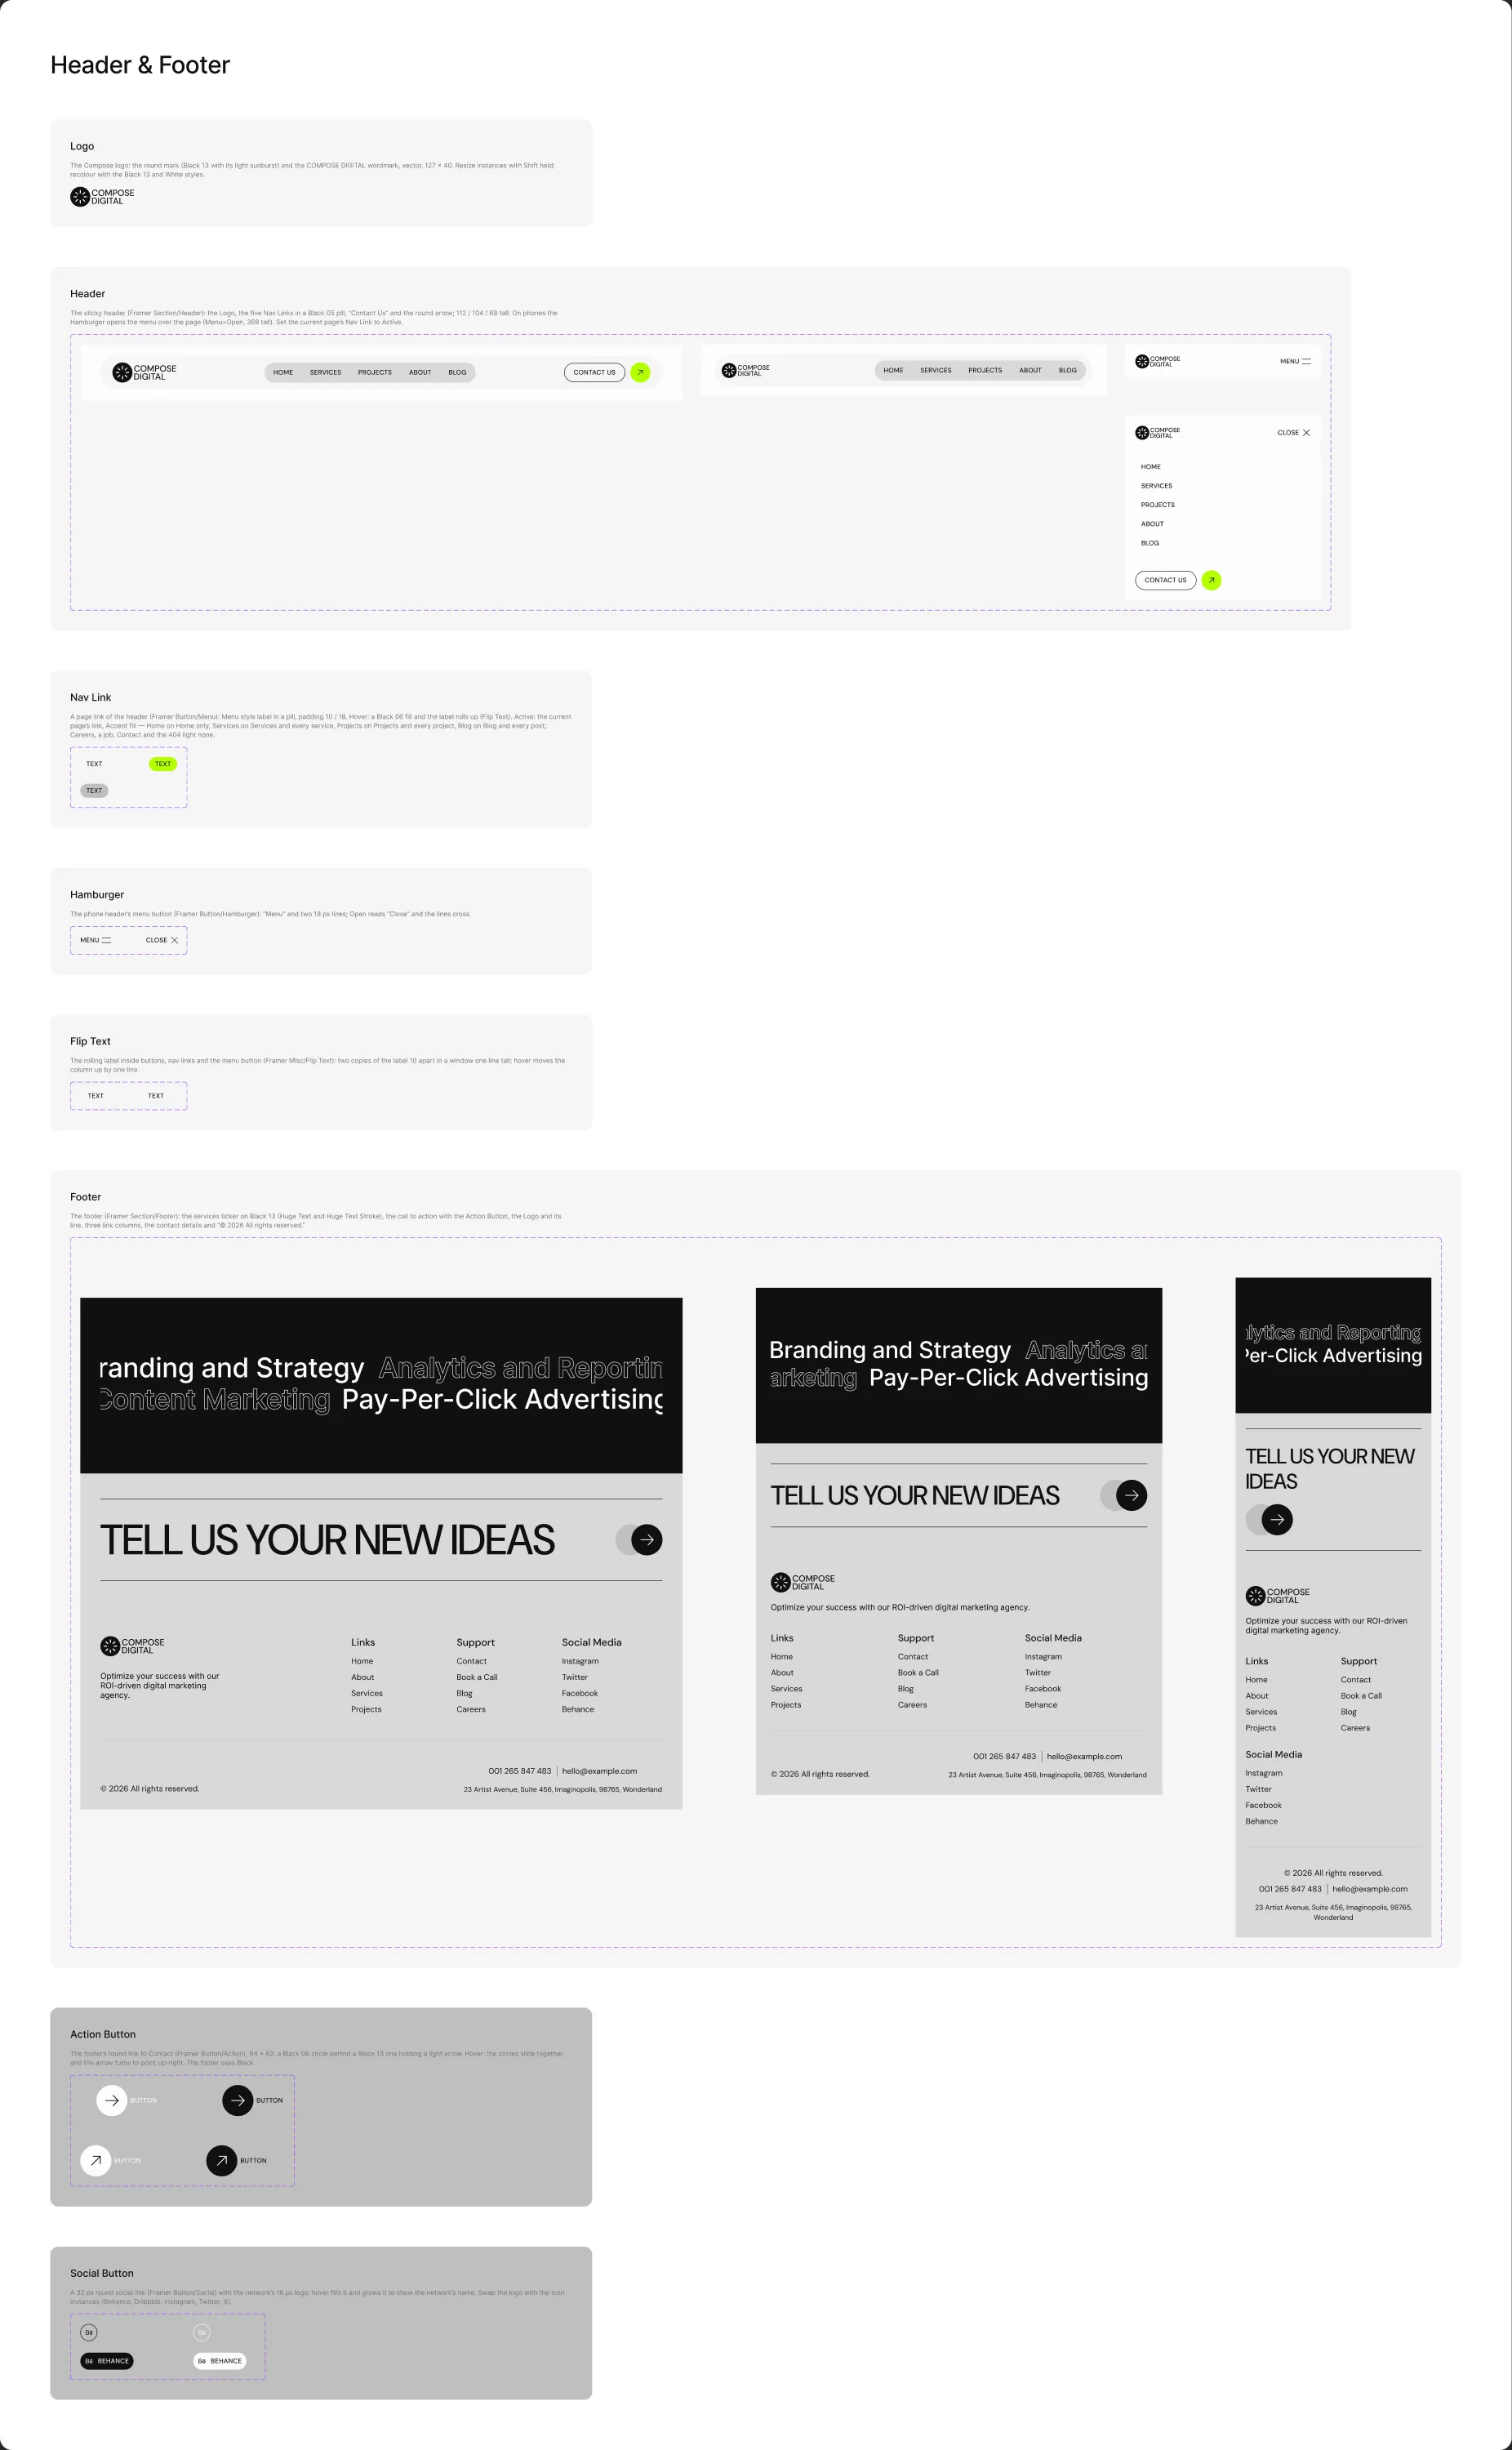
| Component | Variants |
|---|---|
| Logo | — the round Compose mark and the two-line wordmark, as vectors (Black 13 with a White sunburst) |
| Header | Breakpoint: Desktop, Tablet, Phone × Menu: Closed, Open — the Logo, five Nav Links in a Black 05 pill, “Contact Us” and the round arrow; Menu Open is the open phone menu |
| Nav Link | State: Default, Hover, Active — one header link; Active (Accent) marks the current page: Home on Home, Services on Services and every service, Projects on Projects and every project, Blog on Blog and every post — none on Careers, a job, Contact and the 404 |
| Hamburger | State: Closed, Open — the phone menu button |
| Flip Text | Position: Up, Down — the rolling label inside buttons, links and the menu button |
| Footer | Breakpoint: Desktop, Tablet, Phone — the services ticker on Black 13, the call to action with the Action Button, the logo and its line, three link columns, the contact details and the copyright |
| Action Button | Color: White, Black × State: Default, Hover — the footer’s round link to Contact |
| Social Button | Color: Black, White × State: Default, Hover — a 32 px round social link; on hover it grows to show the network’s name |
To put your logo everywhere, edit the Logo component once.
Buttons & Elements
Section titled “Buttons & Elements”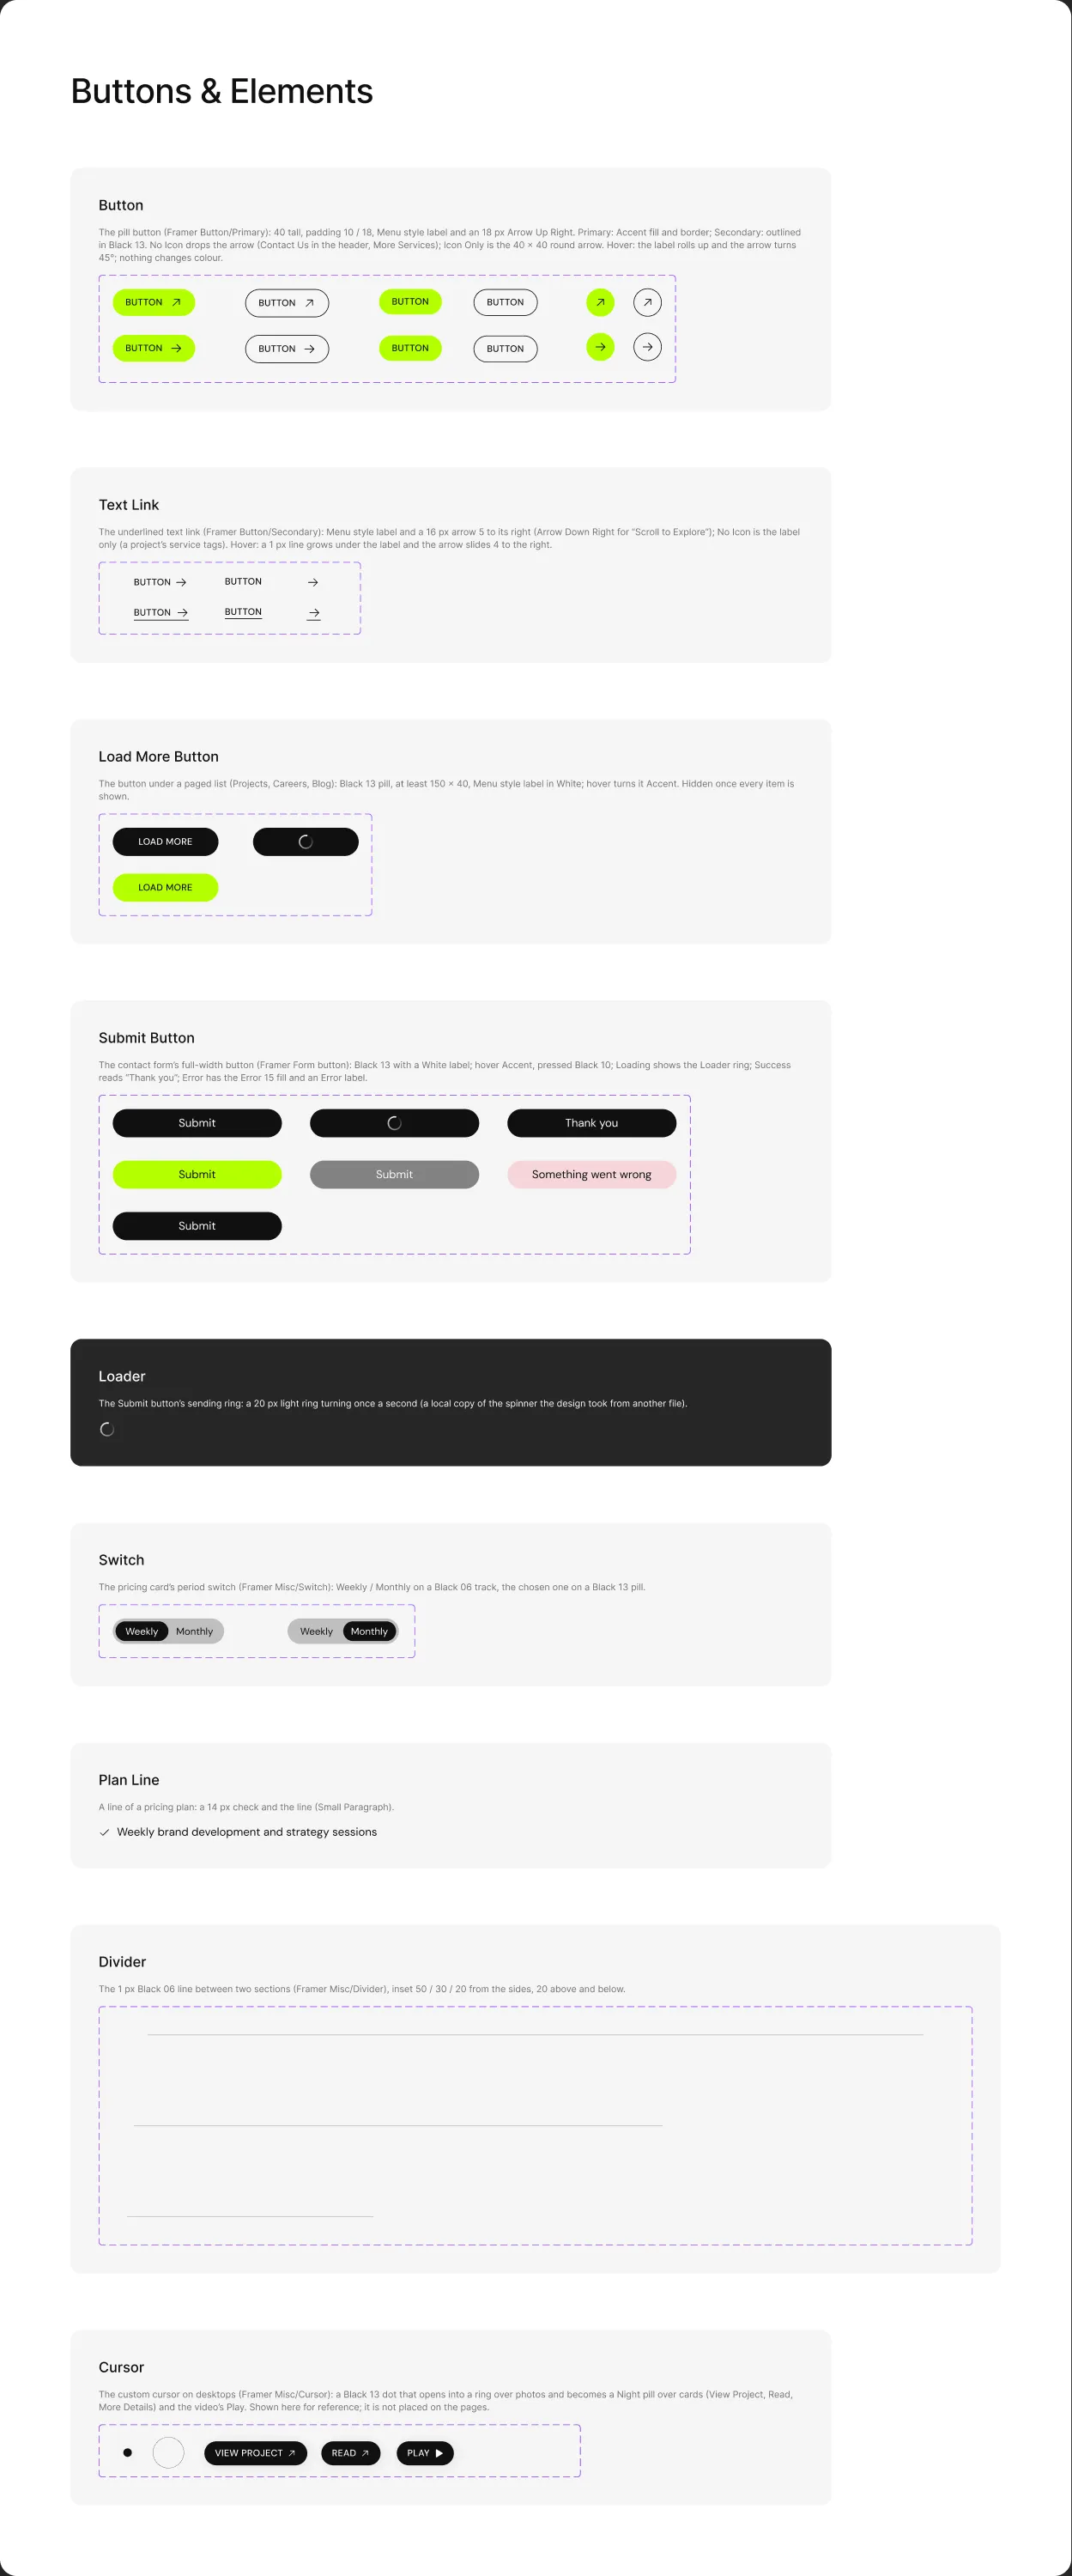
| Component | Variants |
|---|---|
| Button | Type: Default, No Icon, Icon Only × Color: Primary, Secondary × State: Default, Hover — Primary is the Accent pill, Secondary the outlined one; No Icon drops the arrow; Icon Only is the round arrow. On hover the label rolls up and the arrow turns 45° |
| Text Link | Type: Default, Just Icon, No Icon × State: Default, Hover — an underlined text link with an arrow; on hover a line grows under the label and the arrow slides right |
| Load More Button | State: Default, Hover, Loading — the button under a paged list (Projects, Careers, Blog) |
| Submit Button | State: Default, Hover, Pressed, Loading, Disabled, Success, Error — the contact form’s send button; Success shows “Thank you”, Error “Something went wrong” |
| Loader | — the White ring the Submit button shows while the form sends |
| Switch | Period: Weekly, Monthly — the pricing card’s switch |
| Plan Line | — a plan line with a check, used in the pricing card |
| Divider | Breakpoint: Desktop, Tablet, Phone — the 1 px line between two sections |
| Cursor | State: Dot, Active, View Project, Read, Play, More Details — the custom cursor of the website on desktops; it is shown for reference and is not placed on the pages |
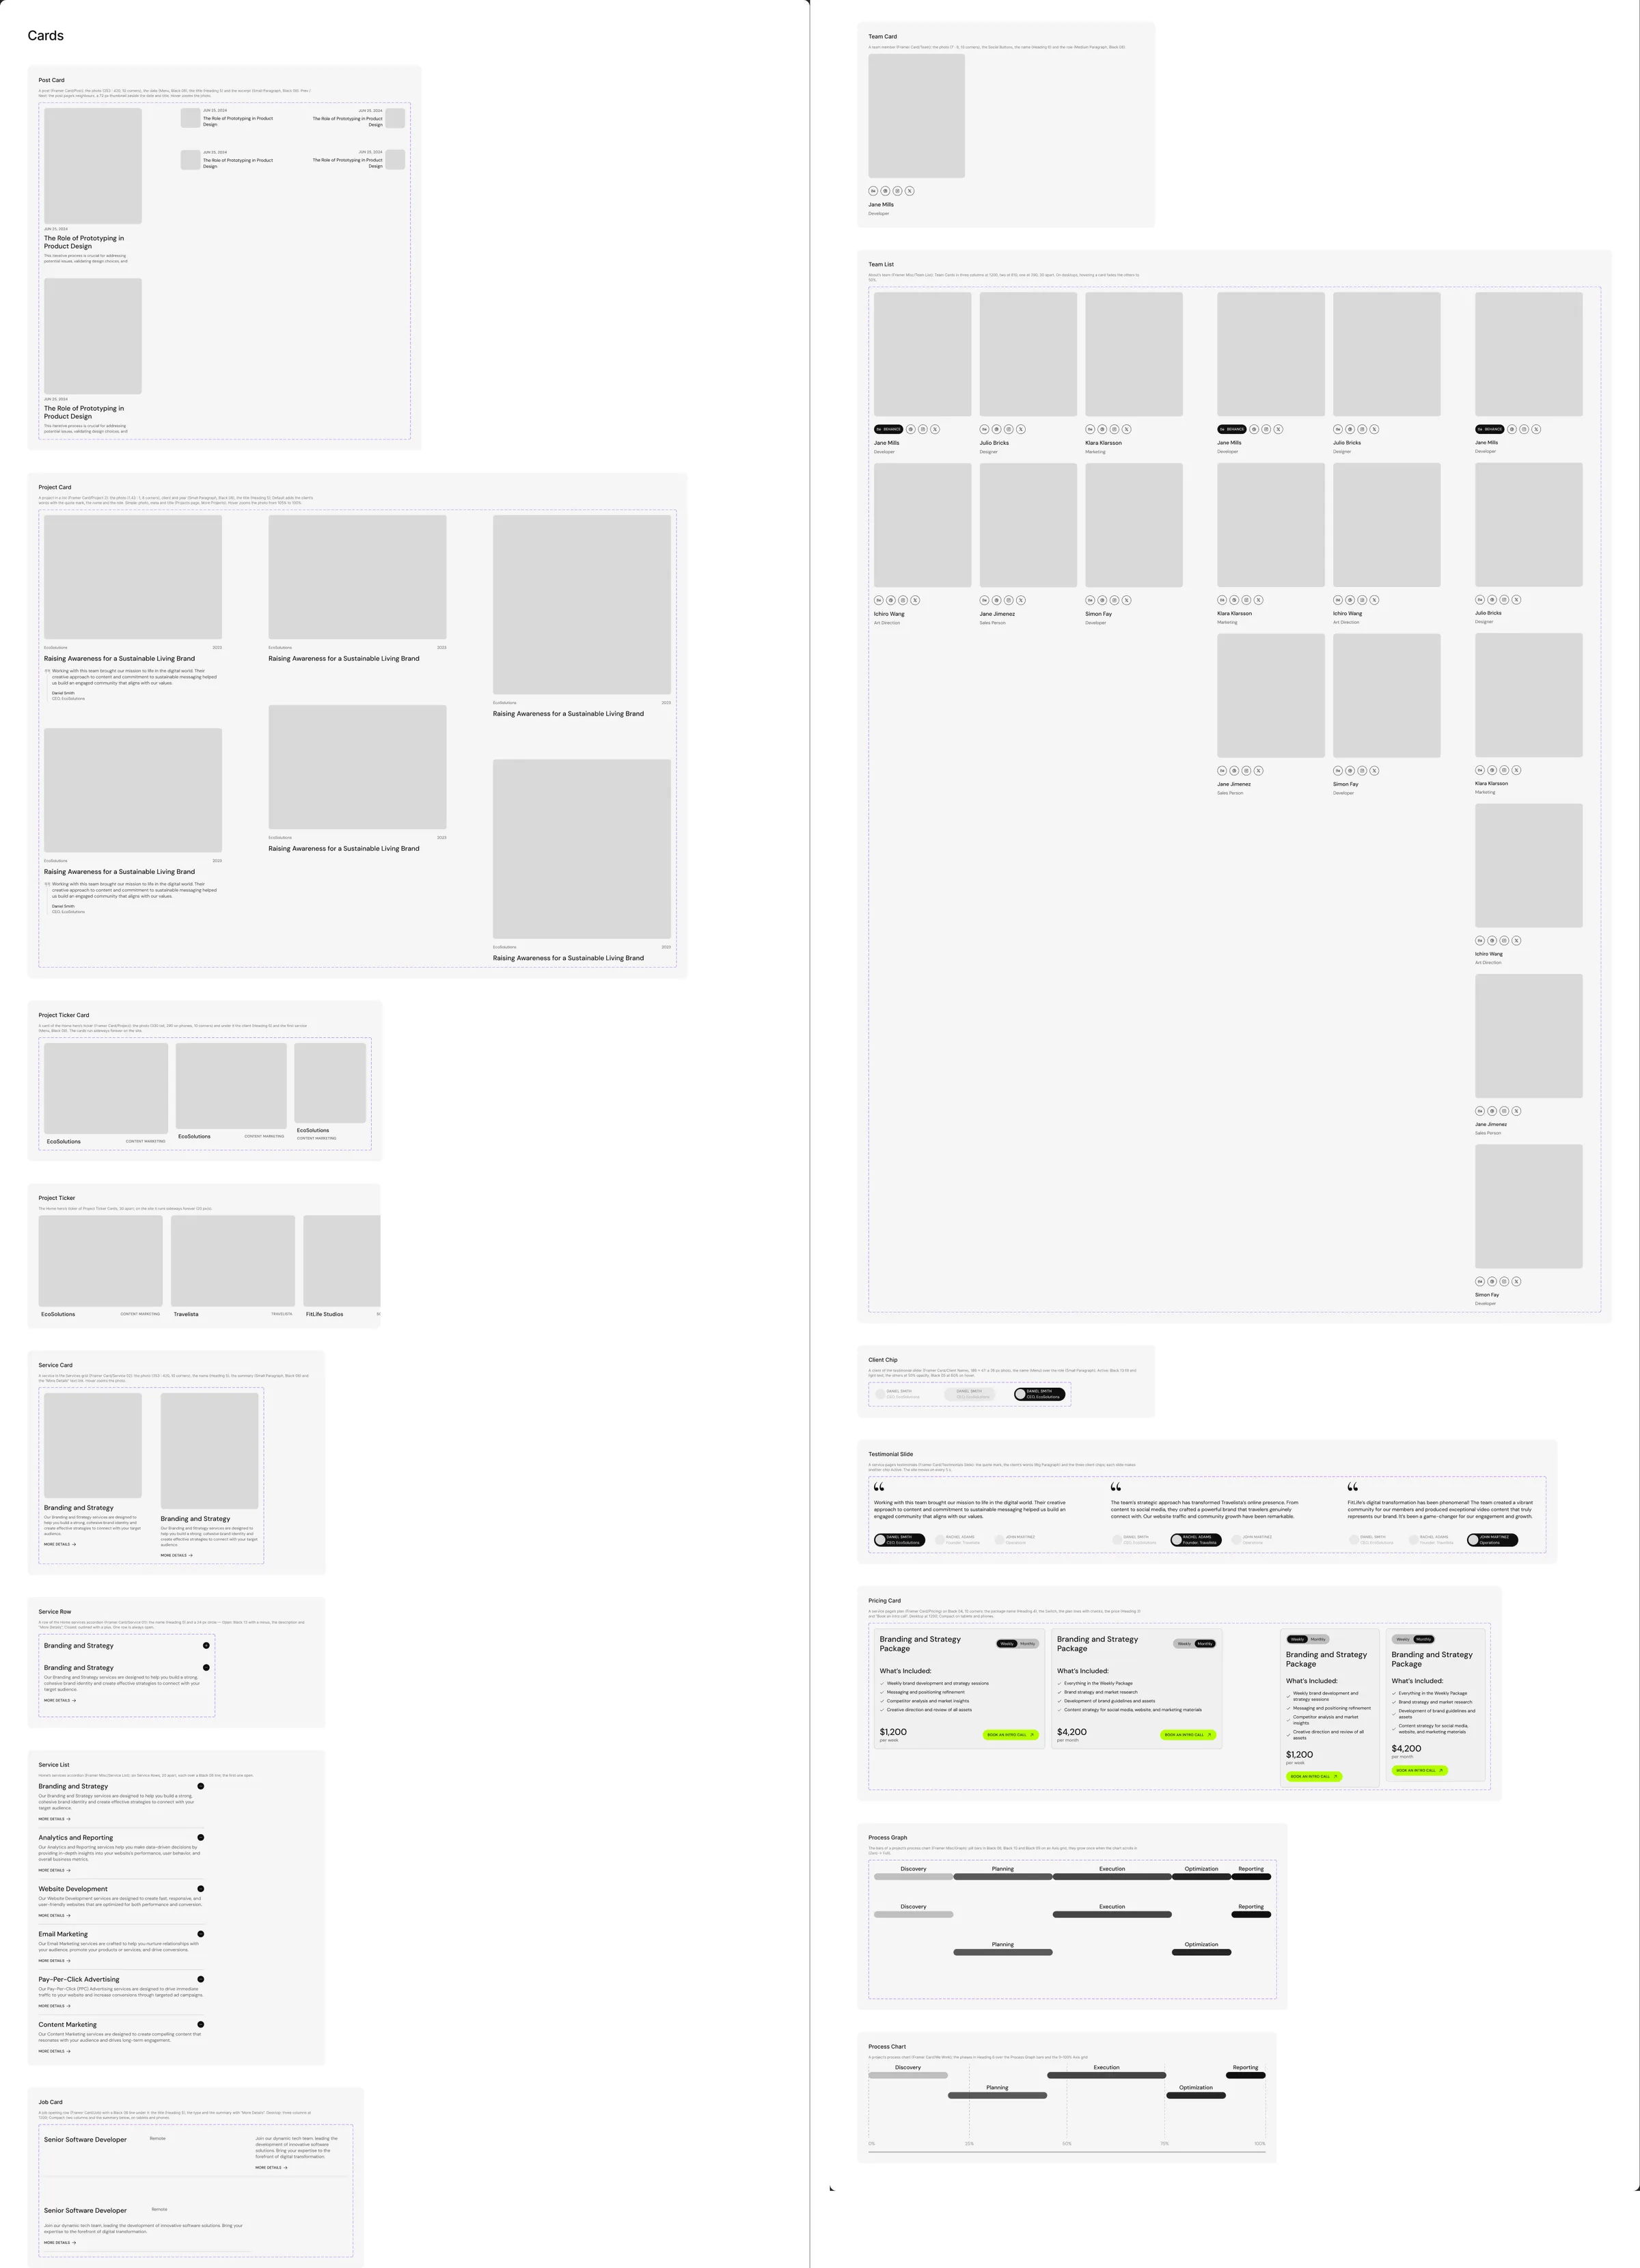
| Component | Variants |
|---|---|
| Post Card | Type: Default, Prev, Next × State: Default, Hover — photo, date, title and excerpt; Prev and Next are the small cards under a post; Hover zooms the photo |
| Project Card | Layout: Default, Simple, Long Image × State: Default, Hover — the project photo, client and year, the title, and (Default) the client’s words with the quote mark; Simple is the Projects list card |
| Project Ticker Card | Breakpoint: Desktop, Tablet, Phone — a card of the Home hero’s ticker: photo, client and first service |
| Project Ticker | — the ticker row of Project Ticker Cards |
| Service Card | State: Default, Hover — photo, name, summary and the “More Details” link |
| Service Row | State: Open, Closed — a row of the Home services accordion: the name, a plus or minus circle, the description and “More Details” |
| Service List | — the six Service Rows of the Home accordion, the first one open |
| Job Card | Layout: Desktop, Compact — a job opening row: title, type, summary and “More Details” |
| Team Card | — photo, the Social Buttons, name and role |
| Team List | Breakpoint: Desktop, Tablet, Phone — the team in three, two or one columns |
| Client Chip | State: Default, Hover, Active — a client of the testimonial slider: photo, name and role |
| Testimonial Slide | Slide: 01, 02, 03 — the quote and the three client chips, one of them Active |
| Pricing Card | Layout: Desktop, Compact × Period: Weekly, Monthly — a service’s plan: name, switch, plan lines, price and “Book an intro call” |
| Process Graph | Progress: Full, 01, 02, Zero — the bars of a project’s process chart |
| Process Chart | — the process chart with its phases and the 0–100 % axis |
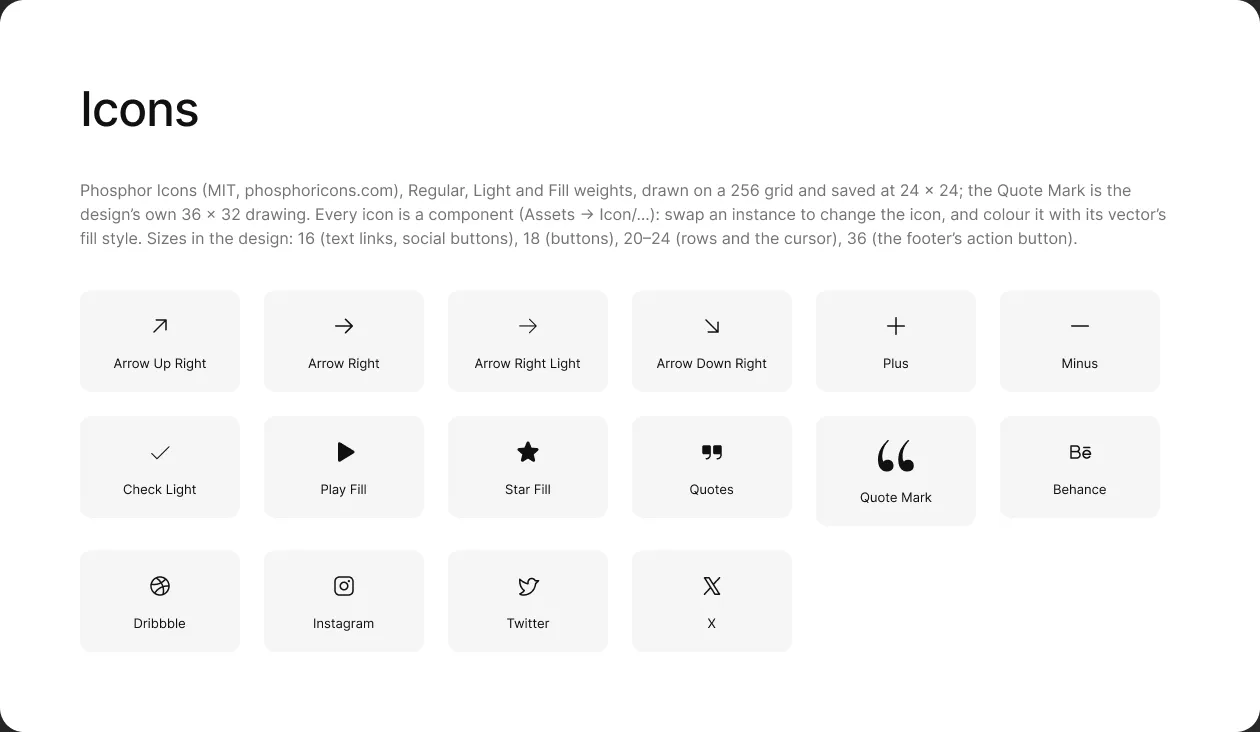
The Icons page holds the icons the design uses, one component each, named Icon/<name>: Arrow Up Right,
Arrow Right, Arrow Right Light, Arrow Down Right, Plus, Minus, Check Light, Play Fill,
Star Fill and Quotes from Phosphor Icons (MIT License), the design’s own Quote
Mark, and the Behance, Dribbble, Instagram, Twitter and X marks. The cursor uses these components, and you can drag the rest
into your own designs; the buttons, links and social buttons carry their own vector arrows and marks. For the full Phosphor set in every weight,
install the free Phosphor plugin from the Figma Community.
Adding your own
Section titled “Adding your own”Build new components next to the existing ones, on the matching board of the Components page, and use the colour and text styles (Colours and text styles) instead of raw values — that keeps your additions rebrandable with the rest.